Introductory Shading Techniques: Give Your Drawings Real Depth
Chosen theme: Introductory Shading Techniques. Today we’ll turn flat lines into believable form using light, value, and texture. Set out your pencils, grab a scrap of paper, and let’s practice together—comment with your questions, share your progress, and subscribe for more shading drills.
Tools and Pencil Grades
Gather a range of graphite: 2H, HB, 2B, 4B, and 6B. Harder leads lay lighter values; softer leads drop rich darks. Use smooth strokes, consistent pressure, and keep a kneaded eraser nearby to lift mistakes without polishing the paper’s tooth.
Draw ten adjacent boxes from lightest to darkest. Start at the extremes: one box nearly white, one near your deepest dark. Bridge the gap, matching transitions carefully. Squint often to judge steps, and avoid streaks by overlapping strokes in a single direction.
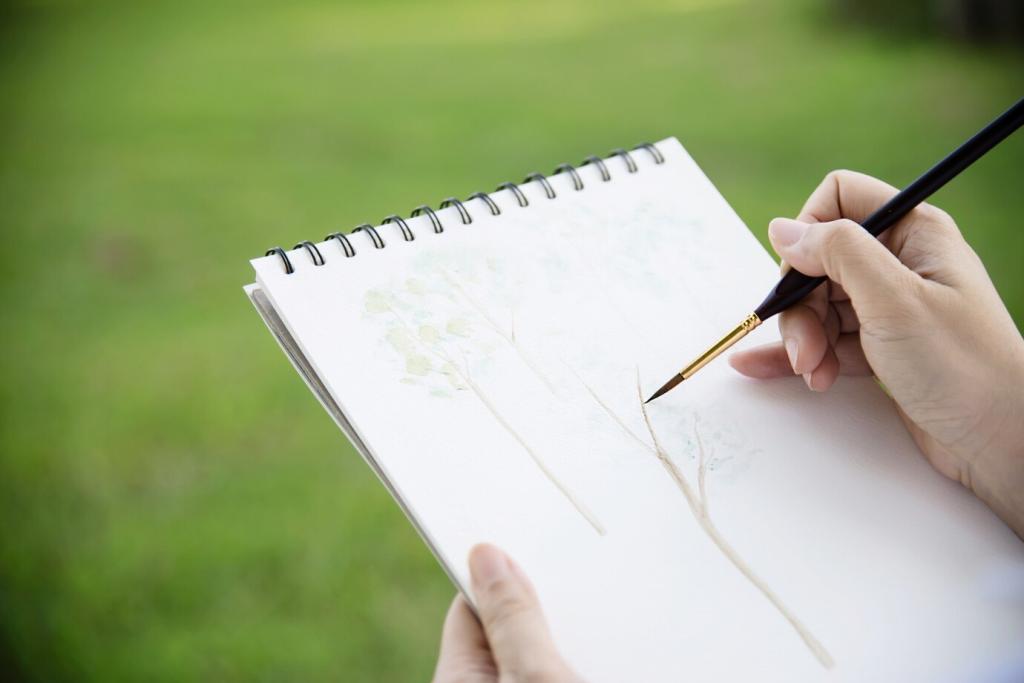
Place a single lamp to one side of a simple object. Identify the brightest highlight, then the softer halftone, the dense core shadow, the subtle reflected light, and the crisp cast shadow. Label each area lightly, then shade to match, building values patiently.
Lay parallel lines with even spacing and pressure, then tighten spacing to darken values. Keep your wrist relaxed and move from the shoulder for longer, cleaner strokes. Build tone gradually, checking often for banding, and rotate the page for the most comfortable angle.
Hatching, Cross-Hatching, and Contour Shading
Add a second and third layer at different angles to deepen tone without crushing the paper. Change angles strategically to reduce moiré patterns. Keep layers light at first; you can always add more. Compare results with graphite grades to see how softness affects texture.
Blending, Edges, and Clean Transitions
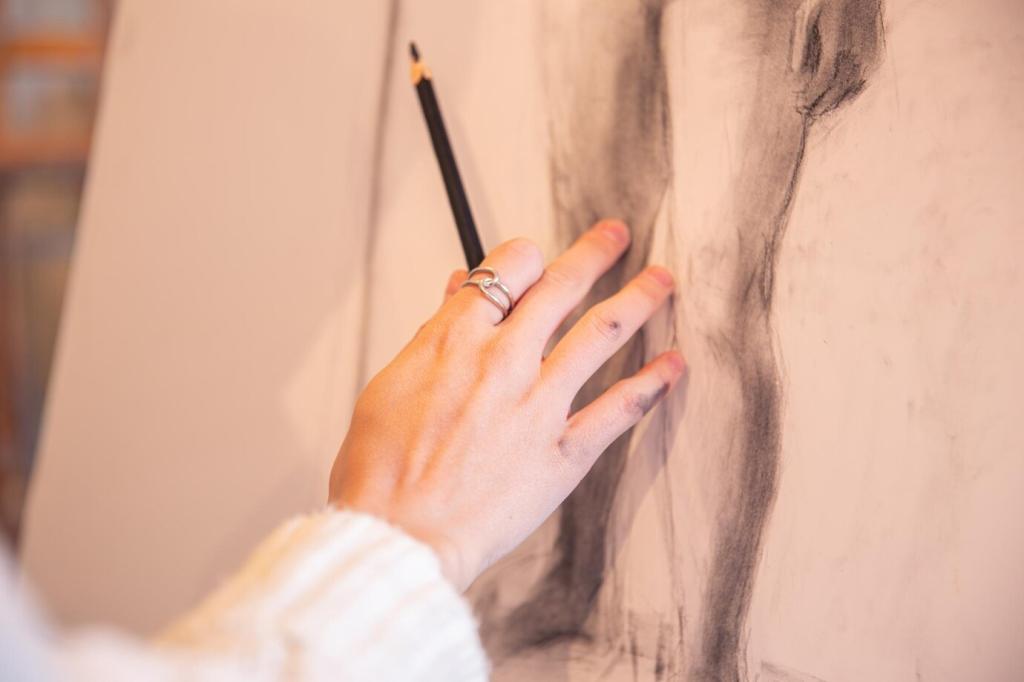
Use a blending stump, tissue, or soft brush to unify graphite, but protect your lights. Tap, don’t scrub, to avoid muddying values. Re-establish darks after blending. Keep a scrap sheet under your hand to prevent accidental smears while you refine transitions.
Hot press paper is smooth and ideal for delicate gradients; cold press or vellum offers more tooth for layering. Pair harder leads with smooth paper for precise hatching, and softer leads with toothier paper for bold darks. Test swatches before serious work.
Paper, Pencils, and Grip
Use an overhand grip to shade on the pencil’s side, keeping strokes broad and even. Float your hand to reduce pressure, building tone with multiple passes. For tight details, switch to a writing grip briefly, then return to broader strokes for unity.
Plan Your Light and Values
Make tiny black–white thumbnails to decide big value relationships quickly. Then add a mid-gray version to preview gradients. These quick studies save time and prevent overworking. Post your thumbnails beside the final sketch to show how planning guided decisions.
Plan Your Light and Values
Use one lamp angled about forty-five degrees to define shapes cleanly. Eliminate competing lights that flatten shadows. Photograph your setup and sketch from life for twenty minutes. Compare the drawing under the same lamp to confirm accurate value relationships.